How To Use Aeration on Your Lawn in Order to Watch It Thrive
Soil compaction is one of the leading causes of unhealthy grass, due to the fact it essentially starves the roots. Because, once the soil reaches a certain level of compaction, nutrients (and even oxygen) can no longer penetrate the ground.
This results in brown, unhealthy-looking grass. And that’s the opposite of how a well-manicured lawn should appear.
Thankfully, the cure for this problem does exist and it’s called… aeration! So, in order to keep your lawn looking the best it can be, we’re going to be discussing everything you need to know about this practice in today’s article.
What is lawn aeration?
Aerating your lawn means creating small holes in it, which will allow important nutrients to reach your grass’ roots. It will also give the roots more room to grow, which means that in addition to your lawn looking healthier, your grass will begin to look thicker as well.
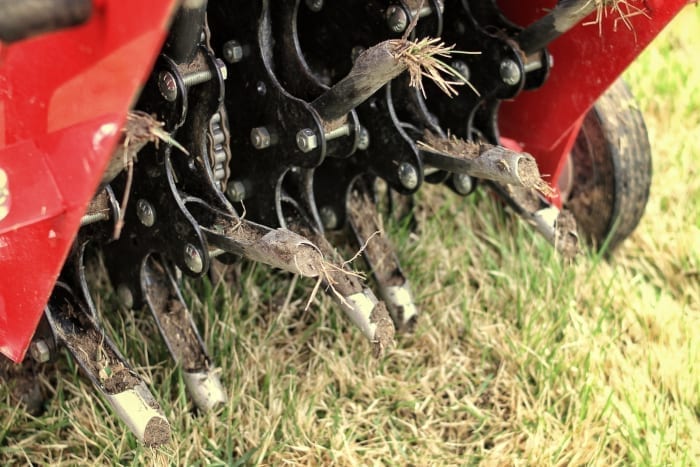
There are two main ways to aerate the soil; tine aeration or core/plug aeration. Although many people believe that tine aeration ends up doing more harm than good to your lawn, so most tend to go with the latter option.
When should you aerate your lawn?
When you should aerate will depend on what type of grass you have. Those with cool season turfgrass (Kentucky bluegrass, etc.) should perform this task in the spring or fall. between March and May, or August and November respectively.
But those with warm season turfgrass should consider aerating during mid-spring or summer. It’s important that you don’t do it when the grass is still undergoing its spring green up, or while it’s dormant.
As far as consistency goes, for most lawns, a yearly aeration should be enough. But if your lawn is used frequently, then you may need to aerate it twice a year.
How do you aerate a lawn?
Firstly, you’ll need to start preparing your lawn. Starting with finding a way to irrigate it. You can do this with sprinklers or by waiting for good rain. But in any case, it needs to get at least an inch of water. And this needs to be done a day or two before the main aerating process.
You also need to mark the areas that you don’t want to run over with your aeration tools. Stumps, sprinklers, etc., could be damaged by the equipment. Or vice versa.
Then, once you’re ready, you can go rent some aerating equipment. It shouldn’t be too hard to find. Most local equipment rental stores will have some available.
When you have your equipment ready, go over the lawn completely (working in rows). Then go over the lawn again, in a perpendicular direction to your first rows. This is to ensure that enough holes are made.
If you’ve used a plug aerator, then you’ll probably notice some plugs of soil littered on the ground after you’re finished. But you can just leave these to naturally decompose on your lawn.
Finally, you can finish off this process by fertilizing your lawn appropriately. And, of course, water it again afterwards.