How Do I Prepare Garden Beds for Spring Planting?
Asparagus, rhubarb, spinach, peas, lettuce, bedding flowers, annual flowers…oh my! Are you ready for Spring planting? If you’re like me, your mind is swimming with what you could plant in your garden once the weather breaks!
Hold up there now partner – Before you run to the garden center and start ordering seeds by the box, STOP. Not so fast! Your garden needs a little love and attention before you start planting.
In this post, I’ll walk you through how to properly prepare raised beds for spring planting. You’ll learn about soil health, weed suppression, sheet mulching, and so much more!
Jump right into getting your garden ready for Spring with me.
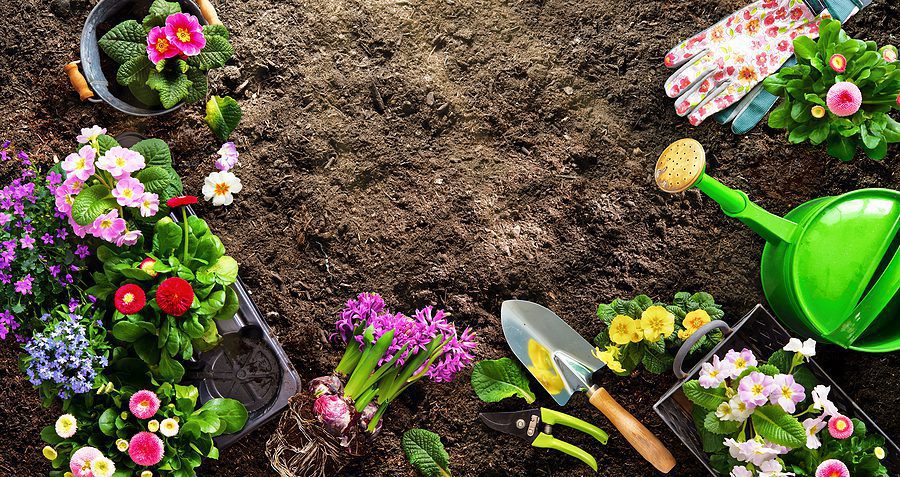
Grab your shovel and garden gloves because you’re about to learn everything you need to know about how to prepare garden beds for Spring planting.
Gardening has truly become a passion of mine in recent years. If you’ve been reading for a while, you’ll know that I’ve never really considered myself a gardener. Between neglecting my garden and killing things off left and right – I thought I just wasn’t cut out for gardening.
It wasn’t until last year that I really put a lot of effort and tried to research the BEST ways to do things. My garden has never looked better, and I am so excited to get started this year.
If you’ve been bitten by the gardening bug, or your brown thumb has slowly (or rapidly) turned green over the last few seasons, now is the perfect time to start planning your spring garden and get out in the garden.
The absolute best way to cure that gardening itch, while being somewhat productive in the garden, is to start preparing your raised beds for Spring planting.
Not only will this allow you to get to your garden dreaming of all the fresh tomatoes and beautiful flowers you’ll be growing this season, but it helps your garden.
Preparing your garden beds properly for Spring helps ensure your garden will be healthy and full of nutrients for your growing plants. It also can help you avoid pesky disease and will help prevent weeds!
Making sure that your raised beds are properly prepared is essential for a successful harvest. Today we’re going to walk through everything you need to do to get your beds shaped up and ready to grow!
Let’s get started!
Materials Needed to Prep Garden Beds for Spring
Ok – You’ve decided that you want to prepare your garden beds for Spring planting. Big step! What do you need to get started?
While this list could be short and simple, I like to be thorough. Below I provide a list of materials as well as tools that I find most useful. Keep in mind that you can DIY many of these things if you want to save a few bucks!
Materials Needed for Garden Bed Preparation:
- Compost: Have enough compost on hand to top-dress your bed with 1-2” of compost. Feel free to add more if your bed hasn’t seen a compost application in a while.
- Mulch: Grab your favorite mulch. I prefer to use some sort of bark mulch or wood chips. You can even use plastic mulch if you want!
- Paper/Cardboard: Start to collect some paper or cardboard if you plan on sheet mulching your beds. This will be optional if you don’t have any problem with weeds growing in your beds. If you need some serious weed suppression, I recommend doing this.
- Tools: Garden gloves: Garden gloves are great – if you like them. Personally, I have never used garden gloves in my life. But if they work for you, keep ‘em on!
- Trowel: Great tool for wiggling weeds out of your beds.
- Garden rake or hoe: This tool is great because it allows you to remove weeds from a distance. No more bending over and hurting your back! You’re welcome!
- Pruners: I always keep a set of pruners handy when working in the garden. They are super useful for removing some of the hard to yank weeds.
- Garden weasel: This is completely optional, but I love my garden weasel. It helps me remove bits of weeds I may have missed as well as helps me aerate my soil. You can certainly remove any missed weed bits by hand and use a garden rake for this step.
How to Prepare Garden Beds for Spring Planting
Remove weeds from around your raised bed garden before starting the prep process.
Step 1 – Weeding
The first thing I like to do when preparing my beds for Spring planting is to remove any weeds.
Go around along the outside of your garden bed and remove any large weeds that you see. It may seem strange to take the time to do this since they’re not in your bed, but trust me, they don’t let these weeds go to seed because you never know where those seeds will end up. Case in point: I have wild mustard all over my yard because I didn’t take the time to remove it one season….years ago. Yes, it took years for me to regret not doing this simple task.
Make sure to go around your garden beds every few weeks to cut these weeds down. They won’t die, but it will essentially starve the root. Once the weeds have been pulled out of your beds, remove any stubborn weeds like Canada thistle by cutting them down at the soil.
Pulling weeds may be easier than you think if your soil is loose. However, if your garden soil is hard from sitting all Winter you will need to put a little muscle into this step. Don’t be afraid to really get in there with your hoe and remove chunks of weeds!
Place all your weeds into a wheelbarrow. I like to add weeds to a specific compost pile, so that pile is where all my garden weeds end up.
Once my compost pile is large enough, I’ll add a lot of carbon to help finish it out and monitor the pile to make sure it gets hot enough to kill off weed seeds.
Use your garden weasel to remove any little bit of weeds you may have missed while preparing your beds for Spring.
Step 2 – Aerating Soil
Before we add any compost it’s always a good idea to aerate your soil. Grab your garden weasel weed removal tool or broad fork and drag it through your garden bed.
If you don’t have compacted soil, you may not even need to use one of these tools. My soil doesn’t usually require a broad fork since we are good at adding organic matter to the beds every year. Our soil is quite loose!
If you opt not to aerate your soil, don’t sweat it. It’s just another tool in our weed prevention toolbox.
Step 3 – Sheet Mulching
Like removing weeds from around your bed, if you have any grass growing in your raised bed, you’ll want to mulch these areas.
Spread your chosen material(s) on top of your soil and make sure to wet it down. This will help the paper mold to your soil and prevent any light from getting through.
If you plan on planting your garden in the next 3 months use a thinner material like newspaper or paper grocery bags. You can cut these bags open and lay them down lengthwise.
If you’re preparing your beds late Fall or Winter go ahead and use cardboard. Regular cardboard found in your recycle bin works great! Make sure the cardboard isn’t glossy and remove any tape or staples.
Step 4 – Add Some Compost
Take your compost and spread it on top of your garden bed. I typically add 1-2” of compost to my beds every year. Some years I’ll only add 1” to my beds and other years I’ll feel generous and add 3”!
There are many different types of compost you can use. Here are some to consider:
- Cow manure
- Horse manure
- Sheep manure
- Fish compost (marine compost is fish/shellfish, seaweed, and other things found in the ocean.)
- Cow, horse, chicken, goat manure (all these manures are great for the garden)
- Worm castings
- Kitchen compost
- Finished compost you made yourself
- Store bought compost
Whichever compost you choose, make sure that it’s finished compost. You don’t want any weird smells coming from your compost. Finished compost should have had the opportunity to breakdown to a high enough temperature that kills off any weed seeds.
You can use unfinished manures in your garden, but do not put them on top of your soil!
Fresh manure can burn your plants due to the high nitrogen content. Fresh manure is only good to apply in the Fall since it will have all Winter (and possibly Spring) to break down.
Spread your compost around your garden bed using a hoe or garden fork.
Step 5 – Mulch, Mulch, Mulch
Lastly, add 1-2” of mulch to your garden beds.
Adding several layers of mulch to your garden beds will prevent any weed seeds from germinating. Not only that, but it will lock in all that great moisture you just added with your compost.
Sound too good to be true? It’s not!
If you’re going to be planting transplants in your beds, simply push aside the mulch – plant your baby – brush mulch back into place.
If you plan on sowing seeds directly into your garden bed, push aside mulch from your planting area. Once you’ve sown your seeds, brush the mulch back to cover the area you just sowed. When your seeds have germinated and produced their first set of true leaves, you can gently push your mulch back into place.
Above I have given you a detailed walk through on how to prepare your garden beds for Spring planting. But what if you’re short on time? Don’t worry, I got you!
TL/DR Version of How to Prep Garden Beds for Spring
- Weed – Remove any weeds from your beds and around your beds. If you have grass, try to remove as much as possible.
- Sheet mulch – Lay down some newspaper, paper grocery bags, cardboard, or any other compostable material to try to prevent weeds from growing up through your soil.
- Aerate – Poke some holes in your soil to help with drainage. We do this because we don’t till our gardens.
- Add compost – Add a few inches of compost to your beds. All gardens can benefit from added compost!
- Mulch – Add 1-2” of mulch to help prevent weeds from germinating!