Albuquerque Soil Preparation for a New Sod Lawn
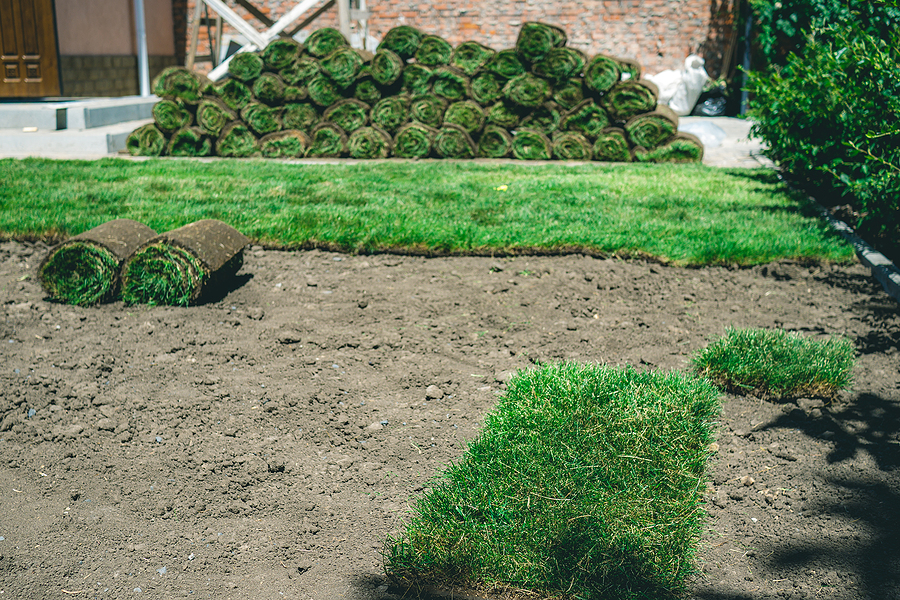
If you want to start the sodding process properly for your new Albuquerque sod lawn (yes!), then preparing your soil for new sod is extremely important. This will help you lower the water use with anywhere from 20 to 30%. The preparation process involves actions like roto-tiling compost onto the soil. Once you do that, the clay soils will have much better drainage. On top of that, sandy soils will even retain more water. Adding organics and tiling will help feed the soil microorganism and it will also add air into the roof zone at the same time.
Step 1 – Start By Clearing The Area
One of the first things you want to do is to remove the debris, rocks and weeds. Any rock will make it hard for the soil to aerate, and plants will dry out. You do need to ensure that you clear all the debris and rocks properly, and your results will be a lot better if you do something like this.
Step 2 – Remove the grass
In case you have dead or old grass, it’s imperative to remove that before the rotor tiling. The issue here is that tiling will not break up the grass. In case the old turf does get tiled in, then the clump grass will make grading harder. Use a sod cutter and you should be good to go with this.
Step 3 – Establish The Rough Grade
When you have to reshape the soil for more than 2 inches, you want to make sure that the soil is established before preparation. The idea here is to cut the higher sports first. You can then use topsoil to fill holes properly. We recommend grading the lawn, in order for water to run away from the foundation of your home. Otherwise you can encounter other problems.
Step 4 – Preparing the soil
What we recommend you to do here is to spread the compost evenly. You want to use the rate of 3-6 cubic yards for every 1000 square feet. You can then rotor till the compost around 4 to 6 inches deep. In case you encounter that the ground is hard, we recommend watering the area that night beforehand, just to make sure it’s all soft. It’s also ok to pulverize the mix and soil by passing multiple times. You do need to firm the area up and make sure it’s ready for the fine grading process. You can also roll the tiller, wheel pack or water properly. Then it’s up to snowfall and rain to settle the soil.
Step 5 – Make Sure You Install A Sprinkler System
Installing a sprinkler is always a good idea because it will help you save money, conserve water, while also adding value to the property. Such a system helps water uniformly without a problem. Getting an automatic sprinkler is better because it helps you water in various cycles, and it can work even if you’re not at home.
Step 6 – Fine Grading
Once the sprinkler is installed, you can fine grade the lawn area with your rake, just to be safe. You can also break up the clods to ¾” or so, and you also need to remove any rock. You have to keep in mind that the soil has to be 1” under the driveways, sidewalks, patio and your edging. You can’t fix the grade after sodding, so try to keep that in mind. Instead, your sod will follow the ground’s contour, which is something to keep in mind. It’s recommended for the finely graded area to be free of any clumps and very smooth once you prepare for sodding properly.